
When you set up your Google Pay registered mobile number as a UPI number, the sender can use any UPI application and transfer money using your mobile number.
As you know when you receive or transfer money in UPI using a mobile number, both the sender and receiver need to use the same UPI application. But when you set your Google Pay registered mobile number as a UPI number, both sender and receiver can use different UPI applications.
Here we will tell you step by step, how to create UPI number in Google Pay and make your Gpay mobile number as your UPI number.
Set Up Google Pay Mobile Number as Your UPI Number
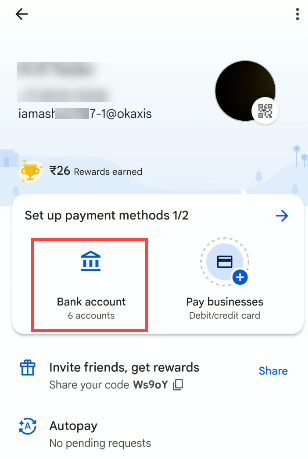
(1) Open your Google Pay application and tap on the profile image to open the profile section. In the profile section, tap on the “Bank Account” option to view your linked bank accounts.
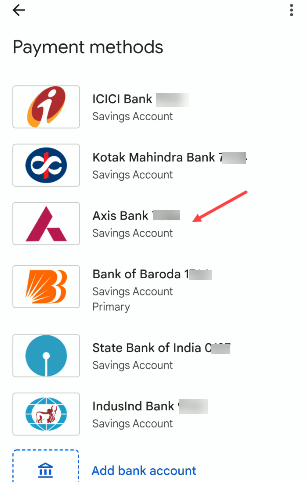
(2) Next screen, you can view your linked bank accounts in Google Pay. Select the bank account for which you want to create the UPI number and want to receive money through the UPI number. Here I’m selecting Axis Bank Account to create a UPI number and I will receive money in this bank account when the sender transfers money using my UPI number.
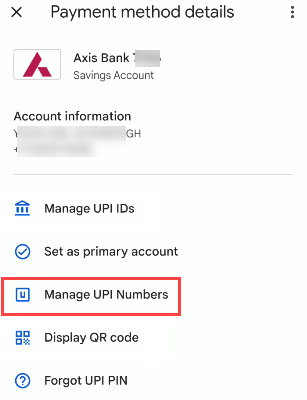
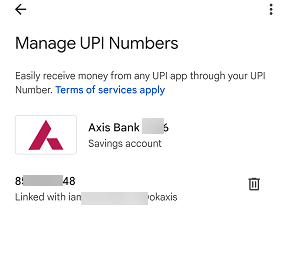
(3) After selecting your bank account, next screen tap on the “Manage UPI Numbers” option.
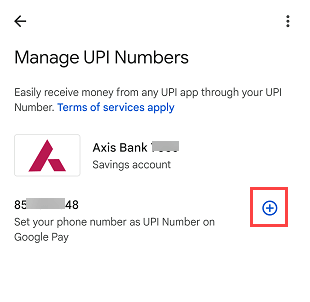
(4) Now tap on the (+) button to create your UPI number for the selected bank account. You can see your Google Pay registered mobile number here, it will be your UPI number.
(5) Next screen your UPI number will be set for the selected bank account. If you already have a UPI number in a different UPI application then it will be removed.
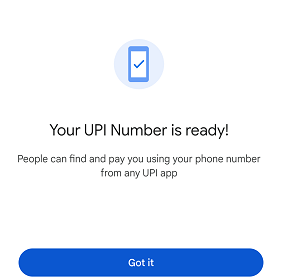
You can see your Google Pay registered mobile number set as a UPI number and linked with your UPI ID.
After setting up your Google Pay mobile number as a UPI number, you can share this UPI number with the sender and he/she will be able to transfer money to your bank account using a different UPI application. You will receive your money UPI number linked bank account for which you have created the UPI number.